Should you need to replace the clock movement or parts of the movement, this section will guide you on disassembling your clock even further.
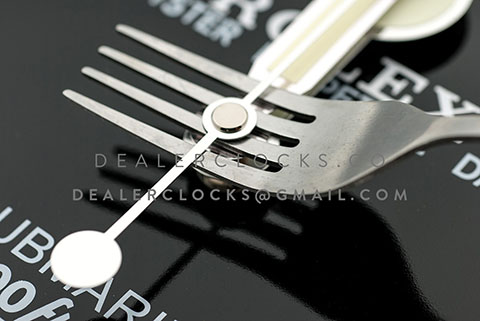
1. The first step is to remove the needles. Using a fork will allow you to apply equal pressure on both sides of the hand, and prevent the hands from bending at the sides, so use one!
Tip: If the hand is stubborn, rock the fork back and forth gently instead of pulling up with force. Remember the key is to be GENTLE.
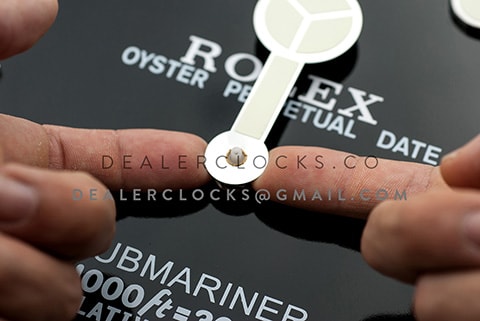
2. Should your fork not be able to remove the hour hand because it cannot fit, you can also use your fingers and gently apply force upwards.
Tip: Try to apply pressure as close to the center of the hand as possible, to prevent bending the hands.
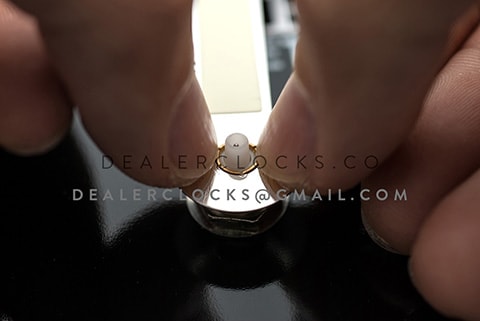
3. Once the hands are removed, you should see a 13mm nut. Use your tool of choice to remove it.
Tip: We recommend an adjustable spanner.
We do NOT recommend a pneumatic drill.
4. The movement will now easily slide out. This may just be a small movement or one with a date disc depending on your clock's function.
5. You're done! Replace/modify what you need and you can begin the reassembly process.
The guys at the DealerClocks office have stuck a little "PAY DAY" sticker over the 20th of our office clock, the sneaky b******s.
Advanced reassembly
1. The first step is to ensure your movement is aligned with the 12 o'clock position before tightening the 13mm nut.
Tip: To make things easier, tighten the nut half-tight, check the alignment, and then tighten it all the way. The nut does NOT need to be torqued down very tight. It's a clock, not a car engine.
2. Replace the hands. Press down gently with your fingernails, and try to apply pressure as close to the center of the hands at possible.
Tip: Try to install the hands pointing at the 12 o'clock position, this will make resetting your clock easier.
3. Replacing the second hand is easy, just push down gently on the top. You're done!