

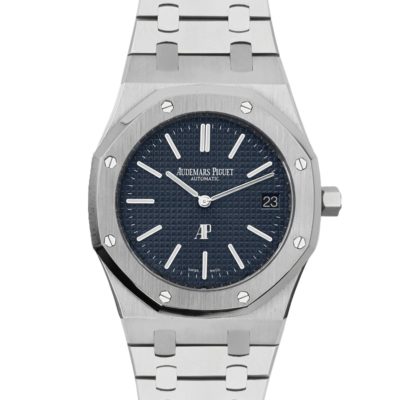







Sometimes during shipping and handling, the cyclops on your clock might shift slightly and not be perfectly center. This quick guide will get you sorted in no time at all!
1. Find a soft cloth to lay your precious clock upon so you do not accidentally scratch it while working. Remove the battery before starting work.

2. Remove the screws attaching the back cover to the clock with a phillips head screwdriver.

3. Remove the back cover and set it aside.

4. There will be 4 – 6 retaining clips holding the dial to the bezel. Remove them by gently pressing down on them.

5. The dial mechanism should now be easily removable. Simply lift it up and flip it around to start work!

6. Align the glass to the date window. Make sure you are looking at it from the top so you do not get any perspective problems!

7. Replace the bezel, making sure the glass does not shift and the 12 o’clock markers are aligned.

8. Before you begin reinstalling the clips, you might want to stick 2 pieces of tape to ensure the glass does not shift during installation.

5. Holding the bezel and dial together to make sure the alignment does not change, flip the clock over.

6. Replace the clips, ensuring they are evenly spaced apart. Tip: Replace 2 clips first, and double check the alignment of the dial and bezel. This way, even if the alignment is off, you can adjust it slightly before fixing the last 2 clips.

7. Replace the back cover and screws and you’re done! Tip: Ensure the hole for hanging your clock is in the correct position.